Launching Your Build
If you made it this far, congratulations! 🎉 Your canvas is designed — VLANs configured, machines placed, plugins wired — and you’re ready to launch a build that turns the blueprint into real virtual machines.
Pre-Checks
Section titled “Pre-Checks”When you click Launch Build in the top-right corner of the canvas, the system automatically runs pre-checks on your canvas configuration. Pre-checks look for potential issues like:
- Missing required plugin parameters
- Missing firewall rules between connected VLANs
- Configuration conflicts
Pre-check warnings are displayed in a modal. They are advisory — they won’t block your build, but you should review them before proceeding.
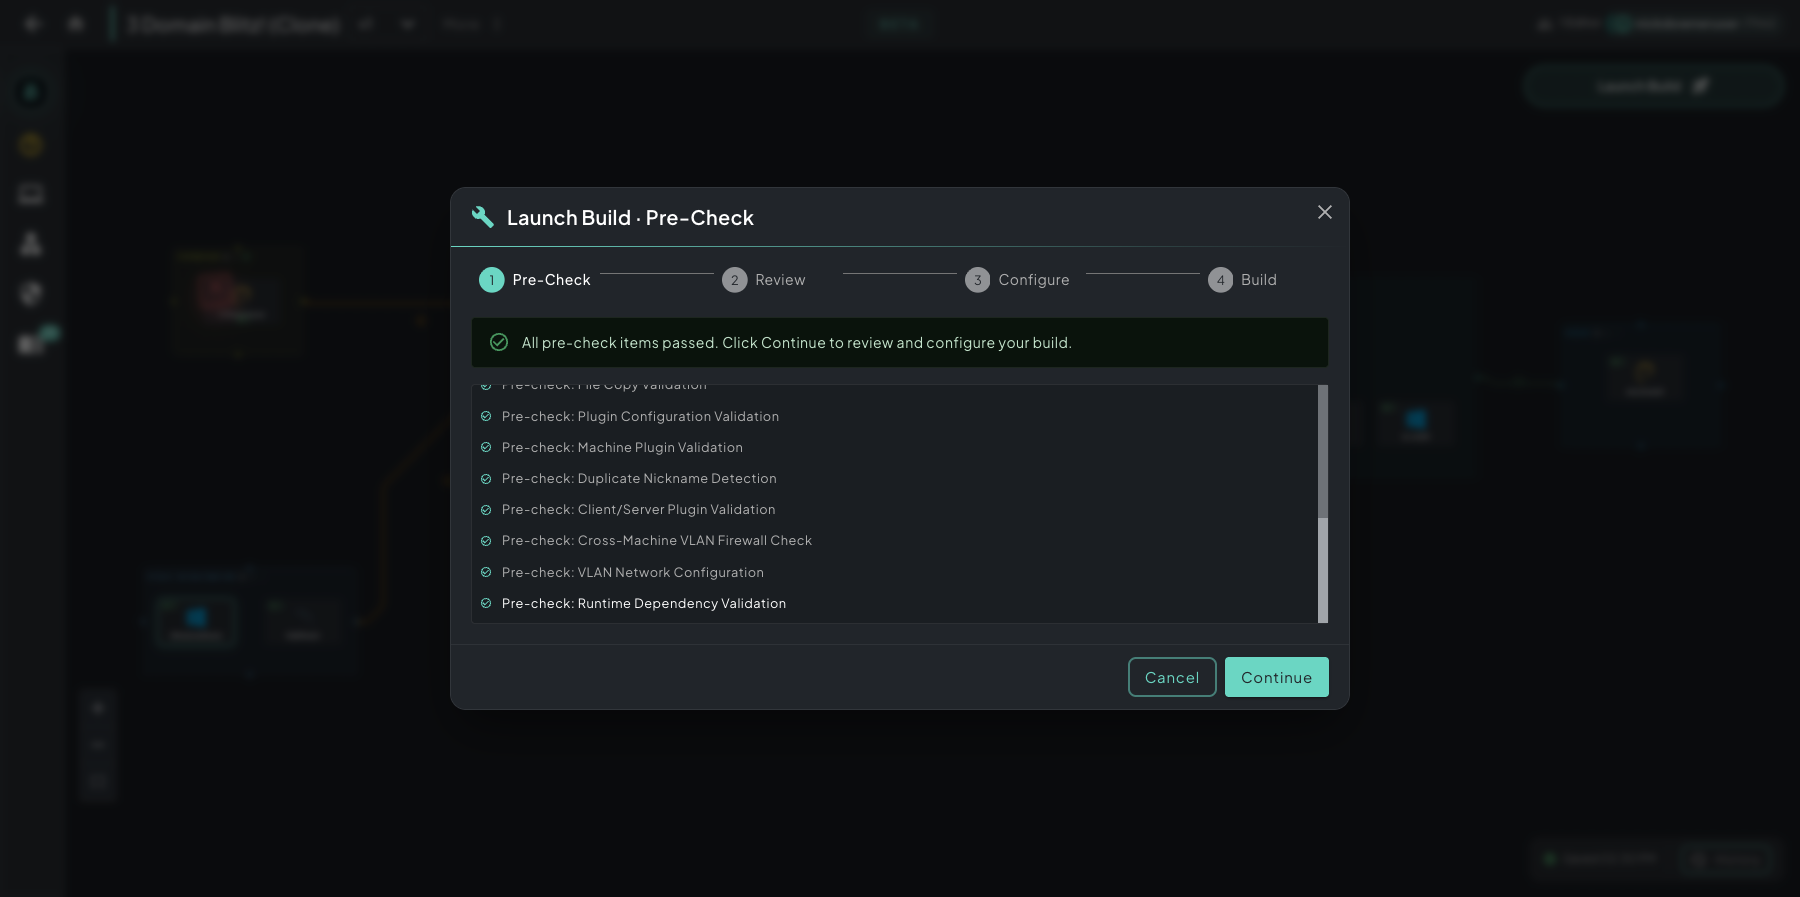 Launch Build · Pre-Check — four-step flow at the top (Pre-Check → Review → Configure → Build), every validation listed below. Green checks mean you’re clear to continue.
Build Configuration
Section titled “Build Configuration”After pre-checks, you’ll see the build configuration dialog with three options:
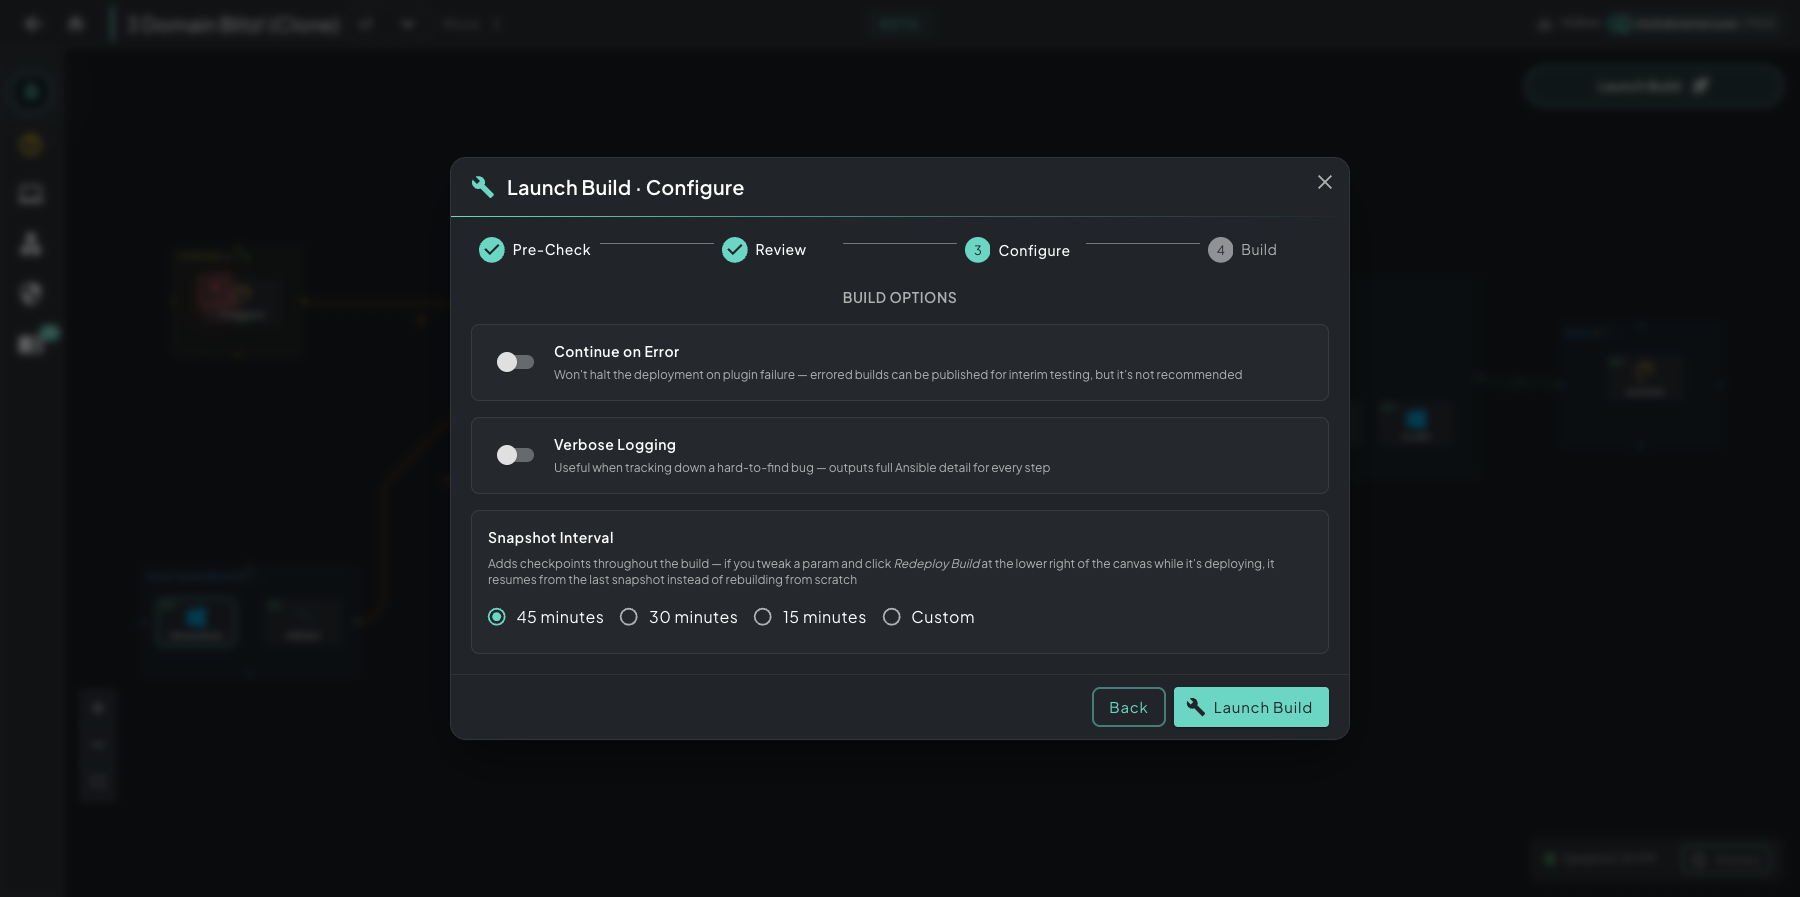 Build configuration dialog — three knobs to set before kicking off the build: error handling, log verbosity, and snapshot cadence.
Continue on Error
Section titled “Continue on Error”Won’t halt the deployment on plugin failure — errored builds can be published for interim testing, but it’s not recommended. Useful during development when you want to see which plugins succeed and which need work rather than stopping at the first failure.
Verbose Logging
Section titled “Verbose Logging”Outputs full Ansible detail for every step. Useful when tracking down a hard-to-find bug; produces much more detail in the build logs (and a lot more log volume).
Snapshot Interval
Section titled “Snapshot Interval”Adds checkpoints throughout the build — if you tweak a parameter and click Redeploy Build at the lower right of the canvas while it’s still deploying, the build resumes from the last snapshot instead of rebuilding from scratch.
Options:
- 45 minutes — default
- 30 minutes
- 15 minutes — most frequent, maximum recovery safety
- Custom — set any interval you want
More frequent snapshots mean you can recover from failures with less lost work, but they add time to the build.
Starting the Build
Section titled “Starting the Build”This is the important step — kicking off the build flips the Architect GUI into building mode. The canvas transforms in real time as VMs are cloned, powered on, and customized step-by-step by their plugin sequences.
Click Launch Build in the configuration dialog to begin. The system will:
- Clone infrastructure VMs (Ansible Control Node, Network Router, APT Mirror, File Share)
- Clone your scenario VMs from their base templates
- Power on all infrastructure
- Power on your VMs
- Execute plugins in order