Lab Creation
A blueprint is a complete scenario design — VLANs, machines, plugins, AD forests, exploit paths — that you can build, save, and deploy on demand. Blueprint creation is the workflow that takes you from an empty canvas to a published, deployable lab.
Build it yourself on the drag-and-drop canvas, or hand the controls to Claude and describe the lab — Claude will design the topology, drop machines, wire plugins, and even write new ones if needed.
Where to Start
Section titled “Where to Start”Open Rogue Architect → Blueprints to land on your scenario library. You’ve got two ways to start a new blueprint from here.
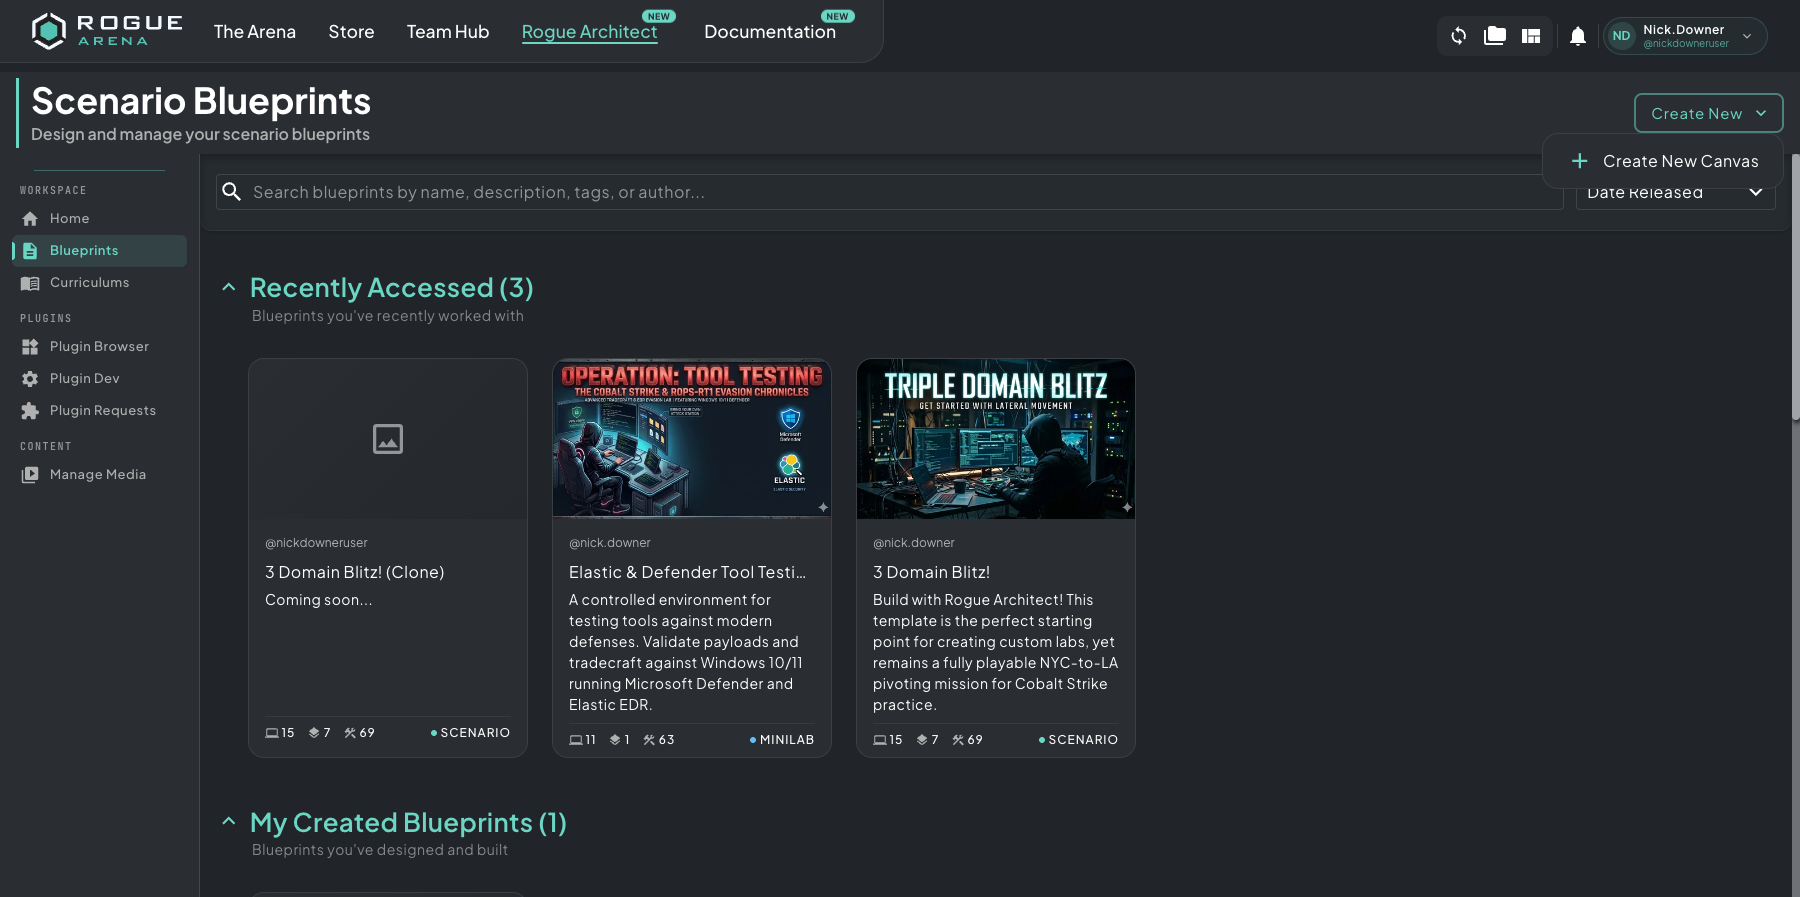 The Blueprints page — your scenario library, with Create New Canvas in the top-right and every existing blueprint listed below.
- Start fresh — click Create New Canvas in the top-right. You get an empty canvas to lay out VLANs, machines, and plugins from scratch.
- Not sure which type of lab to build? See Lab Types for how each type controls what learners can see and when tasks unlock.
- Fork an existing scenario — open any blueprint from Recently Accessed, My Created Blueprints, or any scenario you have access to. When you have view/clone access only, a yellow Clone to My Library button appears in the top-right. Otherwise, open More → Clone from the canvas header to fork the scenario into your own library and iterate freely without affecting the original. See Permissions and Cloning for the full clone flow.
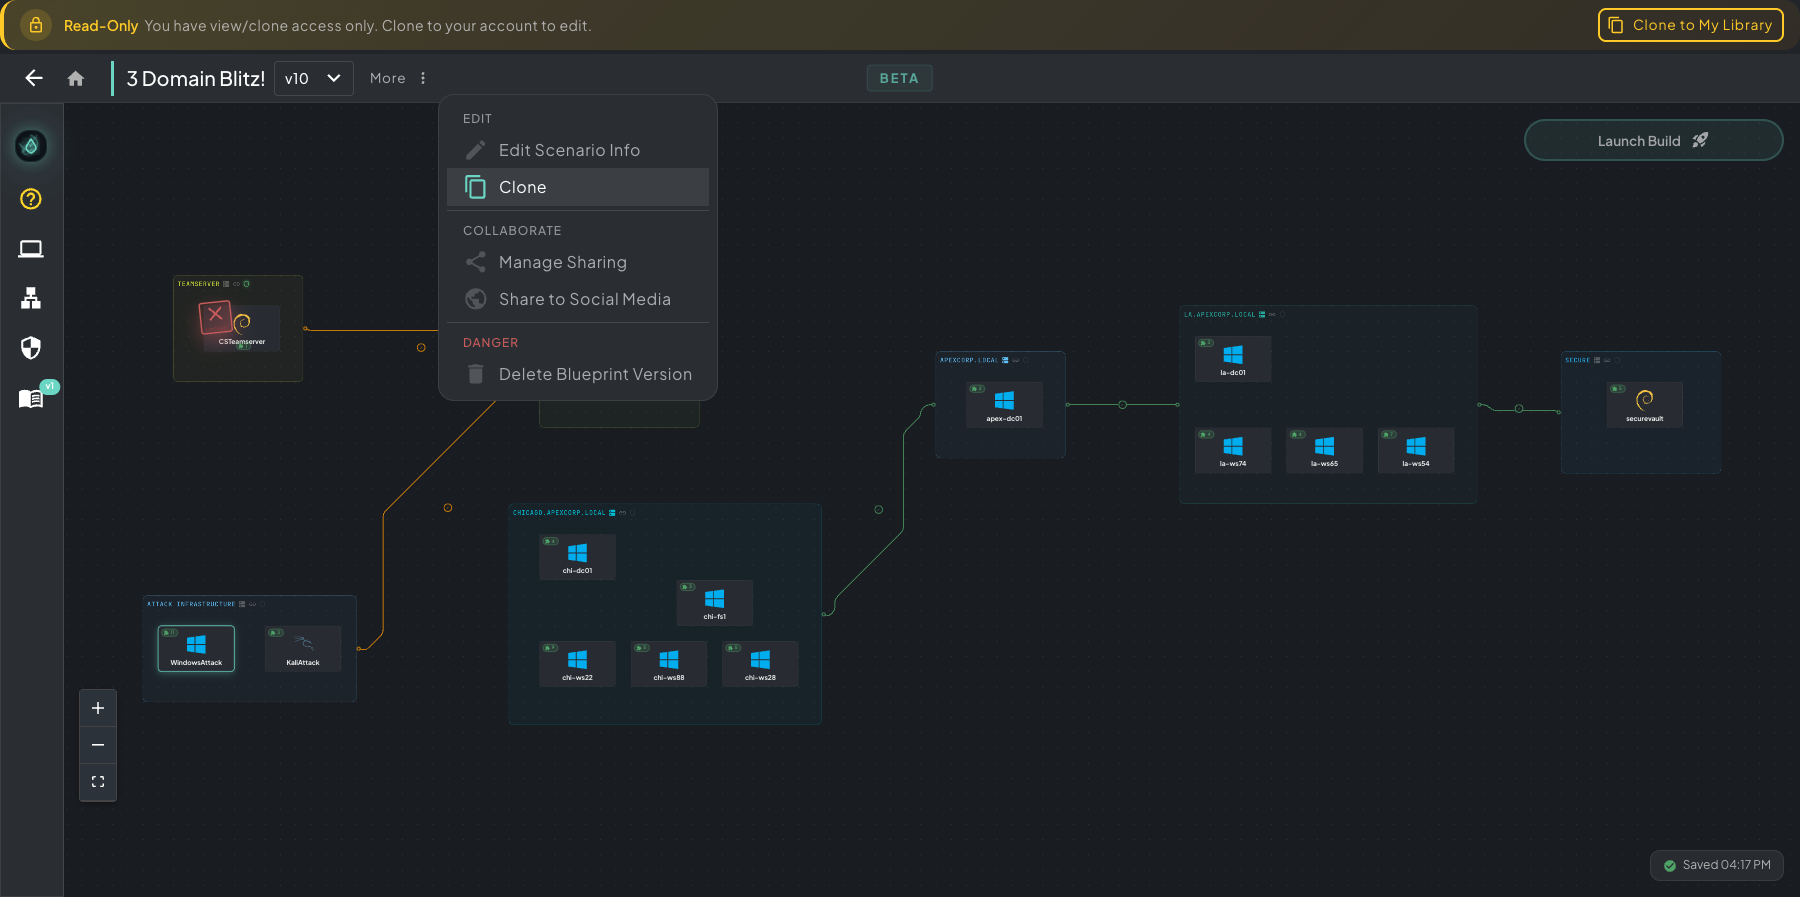 Cloning an existing scenario — yellow Clone to My Library button in the top-right (when you have view/clone access), or More → Clone from the canvas header.
Lifecycle
Section titled “Lifecycle”Building a blueprint follows five phases — click a phase to learn more.
Design Canvas
Lay out VLANs, drop machines, add plugins, connect networks.
02Build & Test
Launch a real infrastructure build and monitor progress.
03Templatize
Save your build as a reusable scenario template.
04Curriculum
Create and link teaching content to your scenario.
05Publish
Set permissions and make your scenario visible to users.